Unlock Google's Magic Eraser on Any Android Phone: A Complete How-To Guide
Introduction
Once a prized exclusive feature of Google's Pixel lineup, the Magic Eraser has finally broken free from its walled garden. This clever photo editing tool lets you remove unwanted objects, people, or distractions from your images with just a few taps—and now it works on virtually any Android device running the latest Google Photos app. Whether you're cleaning up a cluttered background or erasing photobombers, this guide will walk you through everything you need to get started.
What You Need
- Android device running Android 8.0 (Oreo) or higher
- Google Photos app (version 5.70 or newer) – available on the Google Play Store
- Google account signed into the Photos app
- Stable internet connection (optional but recommended for cloud processing)
- Photos saved in your Google Photos library (local images may also work)
Step-by-Step Instructions
Step 1: Update Google Photos
Before you can use Magic Eraser, ensure your Google Photos app is up to date. Open the Play Store, search for Google Photos, and tap Update if available. The feature rolled out with version 5.70 and later.
Step 2: Open a Photo
Launch Google Photos and select any image you'd like to edit. The tool works best with photos that have clear objects or people you want to remove—busy backgrounds may require more effort.
Step 3: Tap the Edit Button
Once the photo is open, tap the Edit icon (pencil symbol) at the bottom of the screen. This opens Google Photos' editing suite.
Step 4: Find the Magic Eraser Tool
Scroll through the editing options at the bottom. Look for Magic Eraser under the Tools section. If you don't see it, swipe left on the toolbar or tap the three-dot menu to find hidden tools.
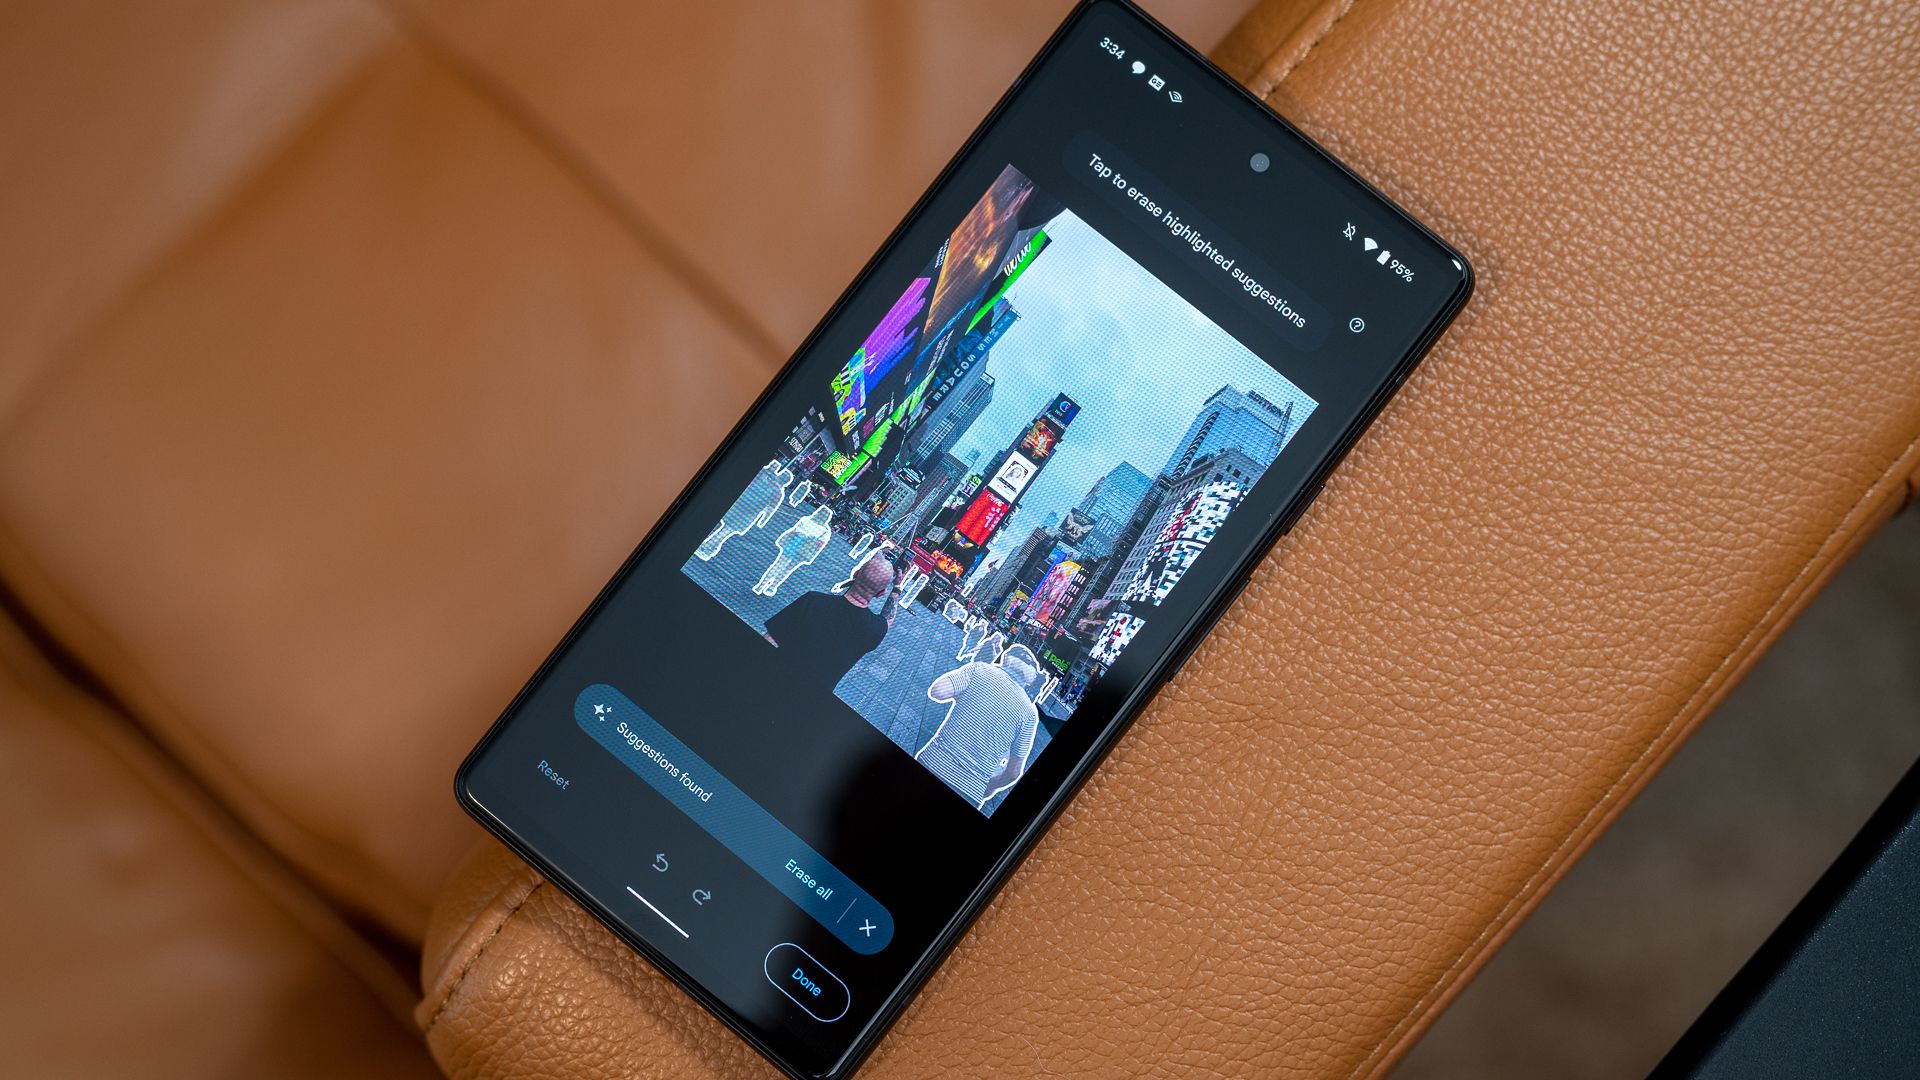
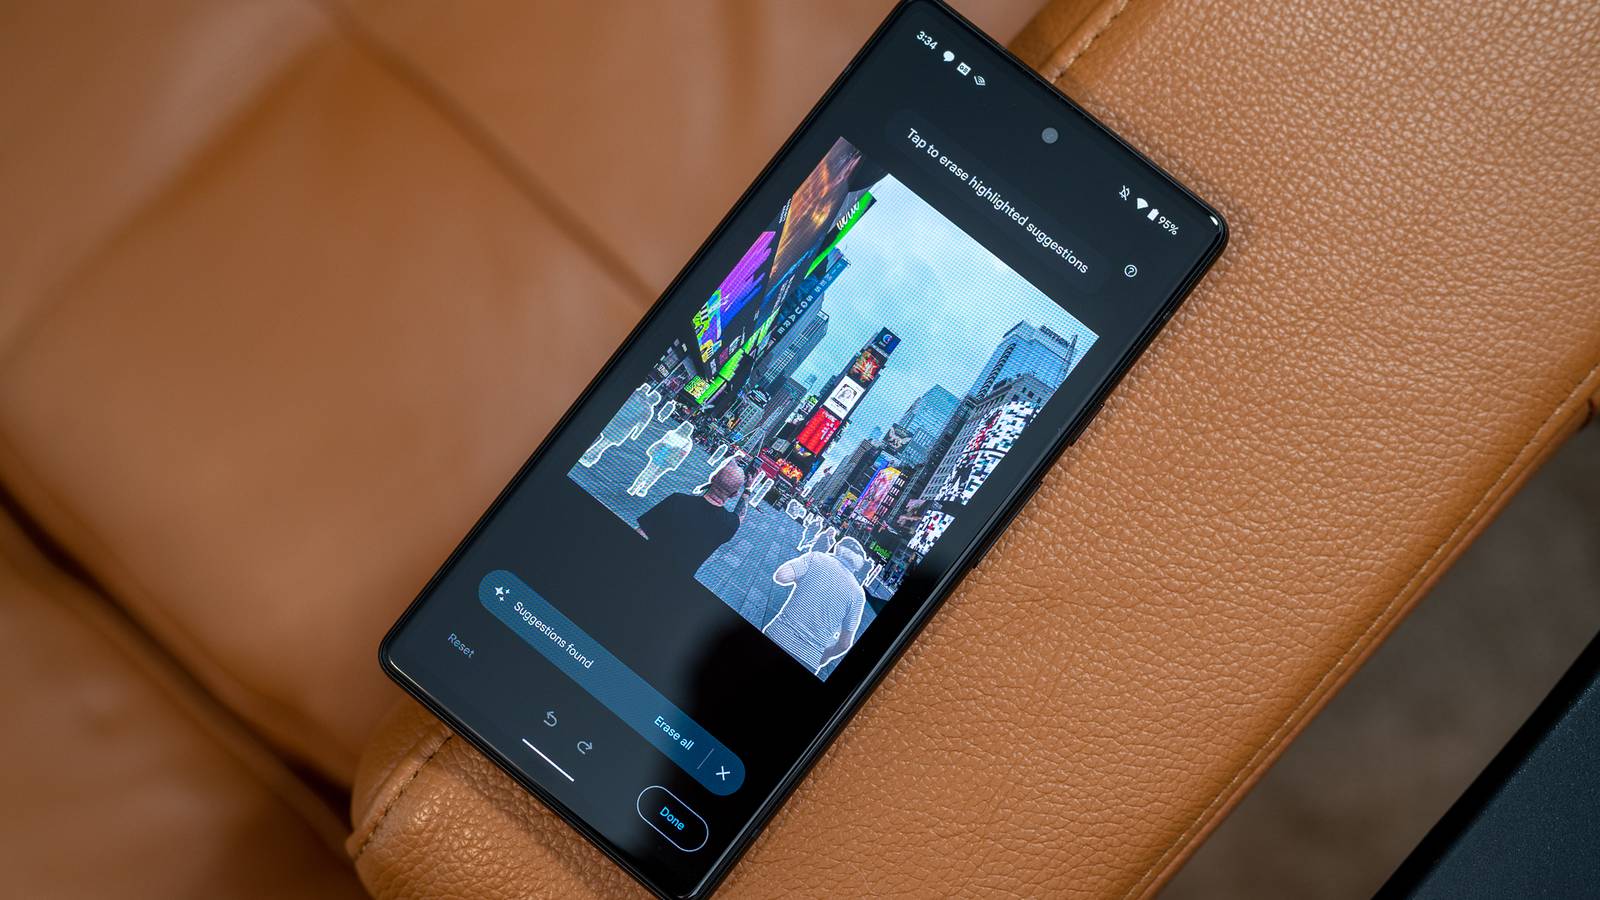
Step 5: Let Google Suggest Objects
After selecting Magic Eraser, Photos will automatically scan the image and highlight objects it can remove (shown with a glowing outline or circles). Tap any highlighted area to erase it instantly. You can also manually circle or brush over items you want to remove.
Step 6: Manually Remove Objects
If the automatic detection misses something, use your finger to paint over the unwanted object. The tool uses AI to fill in the background seamlessly. For best results, keep your strokes smooth and cover the entire object.
Step 7: Adjust After Removal
After erasing, you may notice minor artifacts or weird textures. Use the Undo button to revert if needed, or try a smaller brush for precise removal. You can also combine Magic Eraser with other editing tools like Crop or Color Adjust for a polished final image.
Step 8: Save Your Edits
When you're happy with the result, tap Save (or Save copy to keep the original). Google Photos will process the changes and present your cleaned-up photo.
Tips for Best Results
- Use high-resolution photos: Magic Eraser works best with images that have clear edges and contrast. Blurry or very low-res photos may yield messy results.
- Remove one object at a time: For complex scenes, remove elements sequentially to give the AI time to generate clean backgrounds.
- Experiment with lighting: The tool struggles with shadows or reflections. If an object casts a shadow, remove the shadow separately.
- Save a copy: Always save a copy of your edited image so you can go back to the original if needed.
- Update regularly: Google continuously improves Magic Eraser. Keep your Photos app updated for the latest AI enhancements.
With these steps, you can now use Google's once-exclusive Magic Eraser on any compatible Android device. No Pixel required—just your existing photos and a few minutes of editing.